Flashing Failure Repair in Franklin, TN
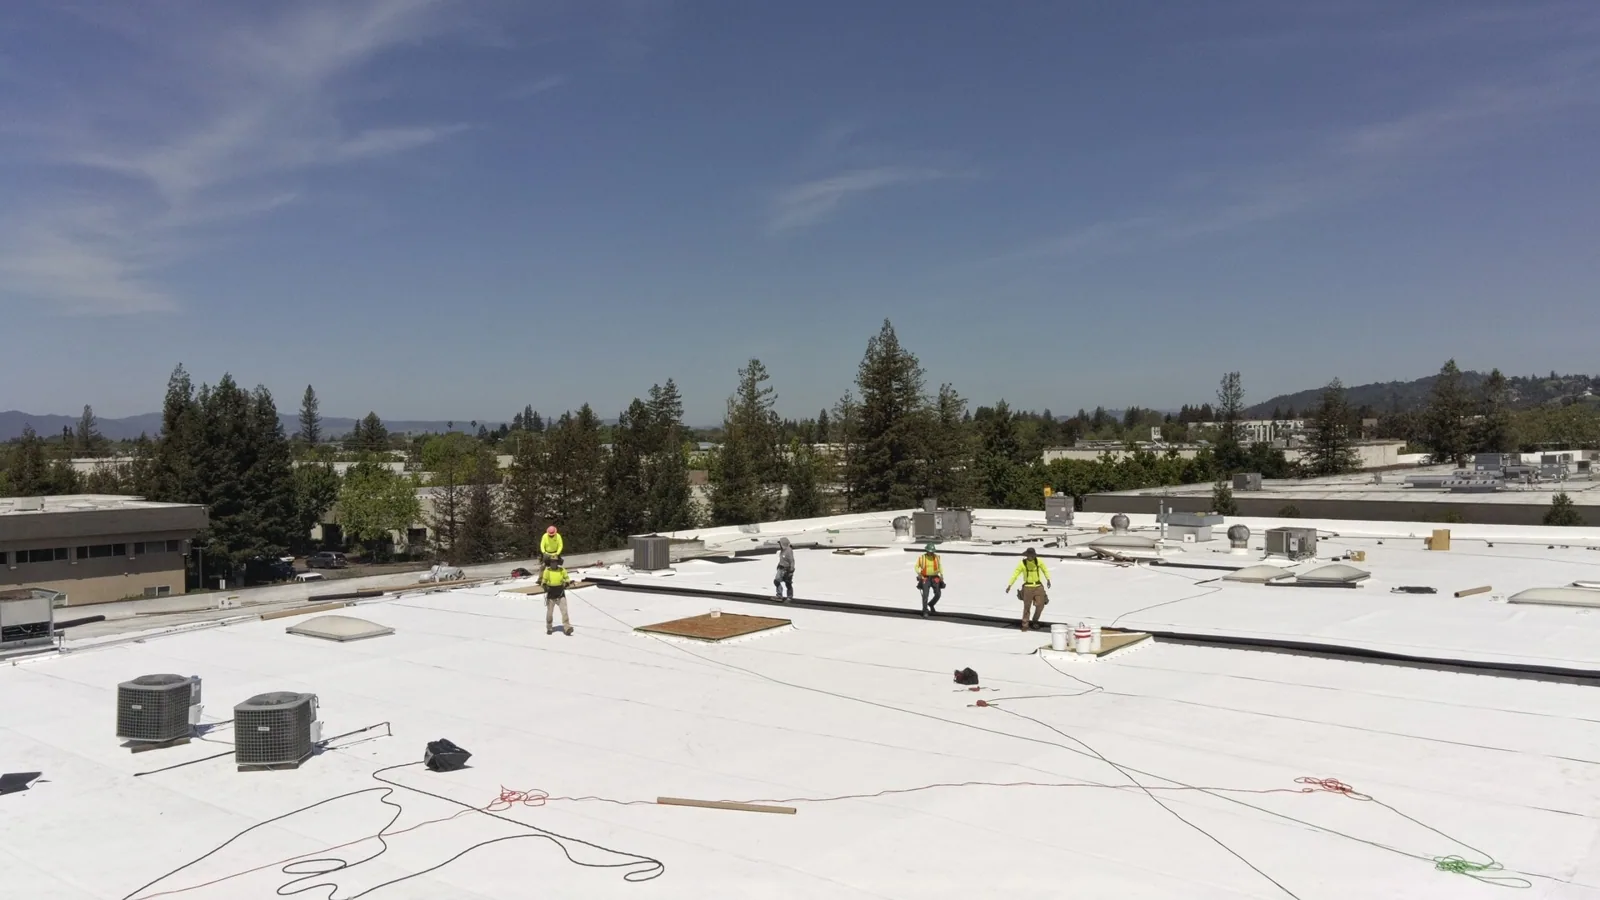
A ceiling stain that appears beside an exterior wall, a day or two after rain, is the usual first sign of failed flashing. The stain looks like a roof leak, and it is, but the leak is not in the field of the roof. It is at the edge where the membrane climbs a wall, a curb or a pipe, and we walk it backward from there.
Flashing is where one part of a building meets another, and no two parts move at the same rate. In Franklin, TN, a record high of 108 degrees and a record low of minus 22 give that joint a large range to cover, and the flashing has to flex through all of it without opening.
Stains beside walls
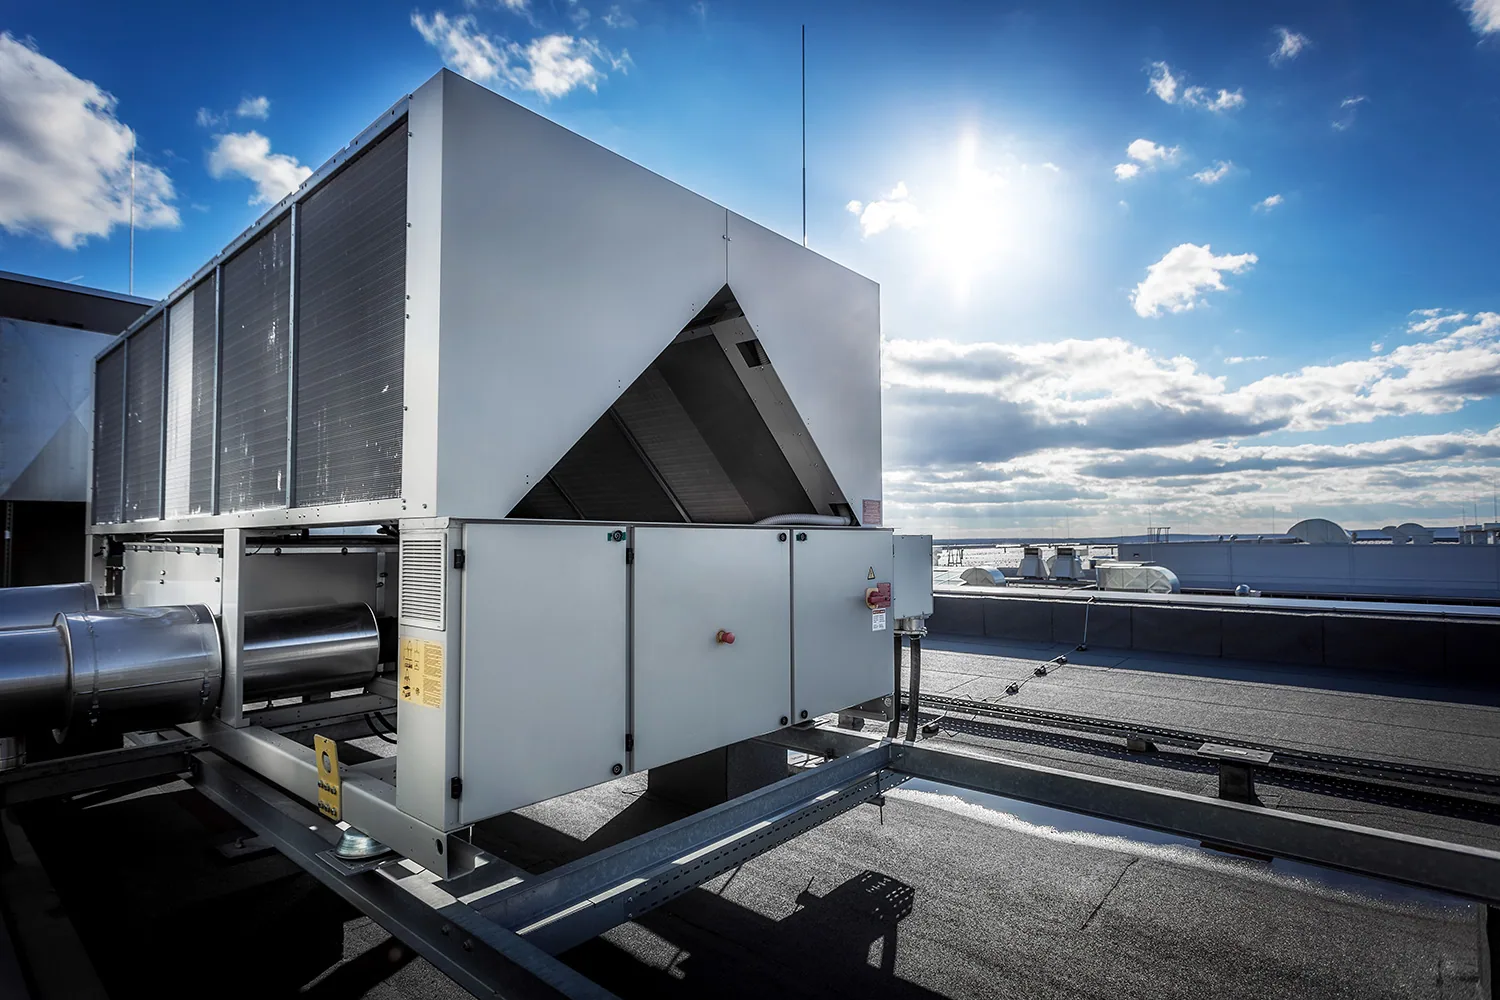
Start at the vertical surfaces. Look at the base flashing along parapet walls, around rooftop units, at skylight curbs and around every pipe. You are looking for a membrane edge that has pulled away from the wall, a bead of sealant that has split or crumbled, metal counterflashing that has bent outward and a patch of fresh mastic that someone added in a hurry.
Inside, stains near walls, around ceiling-mounted fixtures under rooftop equipment and at the perimeter of a skylight well point toward flashing. Note which side of the building the stain is on, and note whether it follows a wind-driven rain. Those two details narrow the search before anyone climbs a ladder.
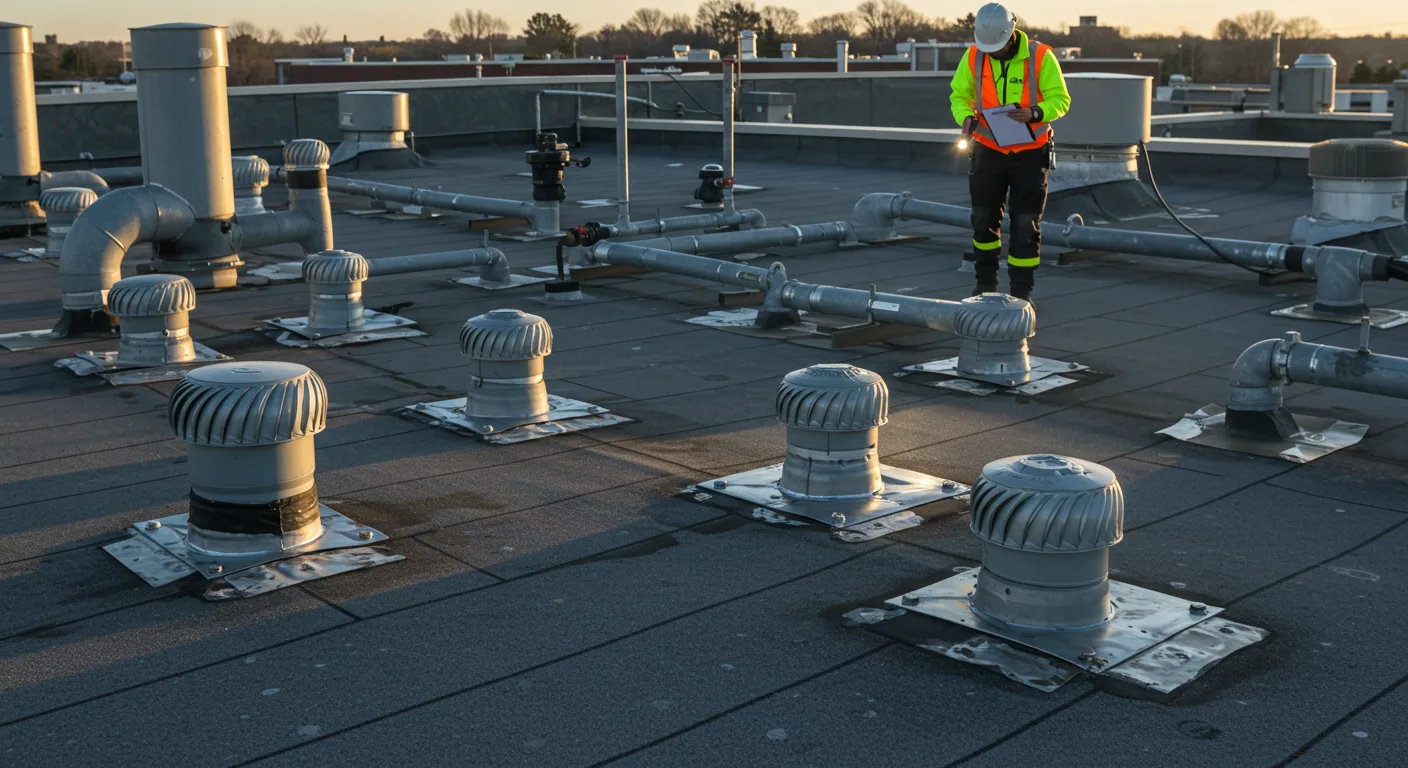
Photograph each suspect joint twice, once wide to show where it sits and once close to show the break. Number them on the roof plan. A list of twelve numbered photographs tells the next person exactly where to stand, and it keeps a small crack from being forgotten while a larger one gets the attention.
How flashing fails
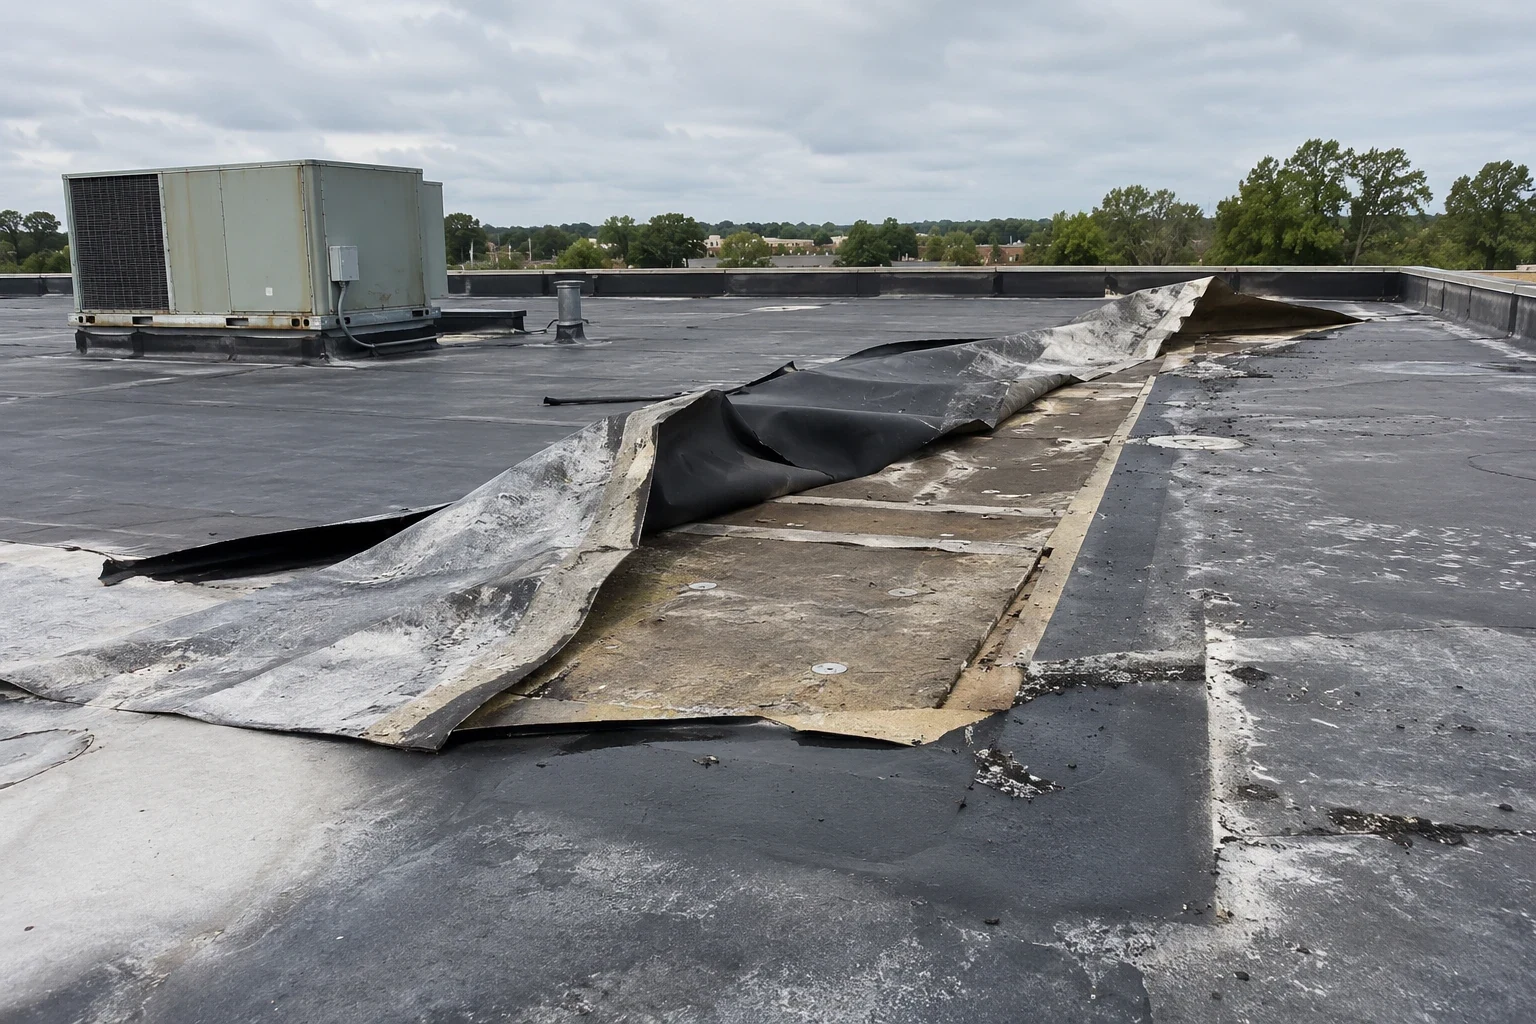
Flashing fails in a small number of ways, and each leaves its own mark. A membrane that shrinks pulls the base flashing taut until it tears at a corner. Sealant that dried in the sun loses its stretch and splits. A termination bar that was fastened too far apart lets the top edge lift. A wall that was never prepared properly will not hold an adhesive.
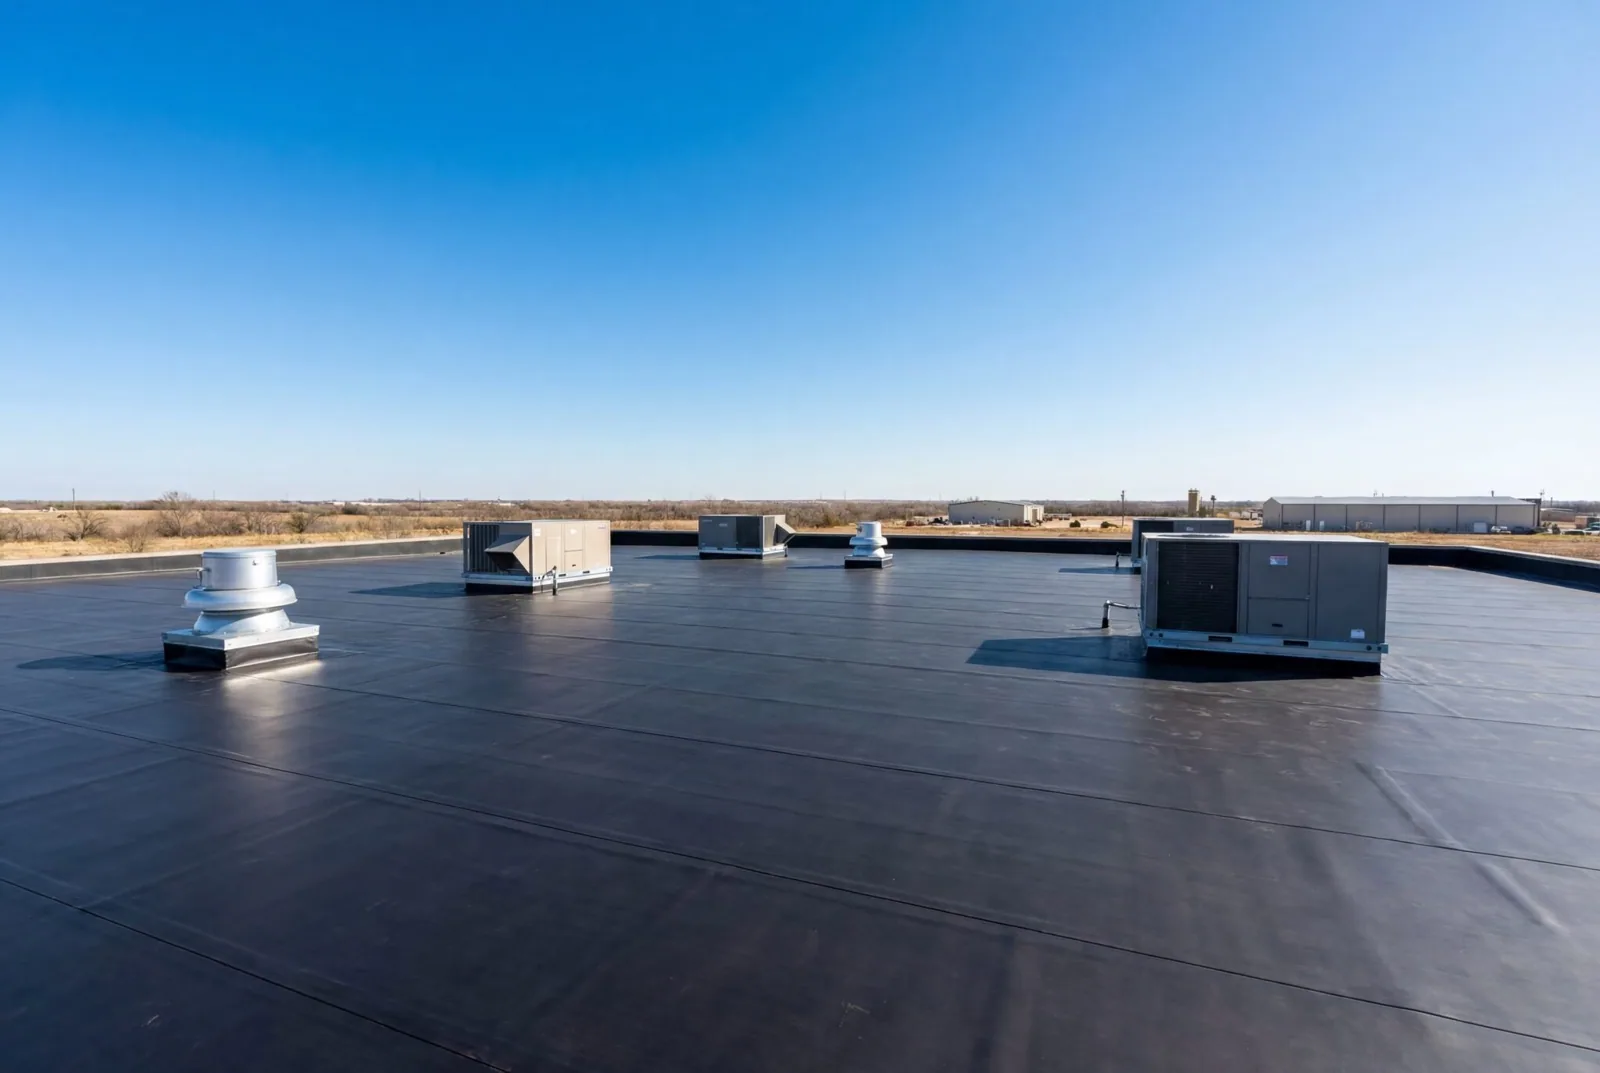
Heat movement is the engine behind most of these. A roof that reaches high surface temperatures in July expands, and the same roof contracts on a freezing night. The wall, the curb and the pipe move by different amounts, so the joint between them is stretched and squeezed every day. A detail that can absorb that movement lasts. One that cannot opens a little more each season.
Edge metal plays into this too. When coping or a drip edge loosens in a gust, the way it does after wind damage to a roof, the membrane termination beneath it loses its cover and ages quickly. Flashing problems often start as an edge problem, and the repair has to address both layers.
Where the water stopped
Water that enters at a flashing runs down the back of the membrane, into the insulation below and along the top of the deck. It rarely drops straight down. We trace it by checking the lowest edge of the wet insulation, then the nearest fastener line, then the first interior point where it appeared.
On the tall low-slope office roofs east of I-65 in the Cool Springs district, where buildings run six to eleven stories and carry rooftop mechanical equipment, a single failed curb flashing can feed water into a ceiling several floors below the roof. The photo trail from the curb to the stain keeps that chain from being guessed at.
Do not stop at the first wet spot. Water that enters at a flashing can travel many feet along a deck rib before it drips, and a second, drier opening may be feeding the same stain. We check the whole run of flashing between the stain and the nearest wall corner before declaring the source found.
Test it with a hose
A hose test confirms flashing quickly. We start low and work upward, wetting one section at a time with someone inside watching for drips. When water appears, we know which section is the culprit. A moisture scan helps map the wet insulation that the flashing has fed.
We also test the materials. Does the sealant stretch or crack when pressed? Does the membrane edge peel from the wall with a finger? Does the termination bar rattle? Each answer says whether the detail can be repaired or must be rebuilt. The same tests apply to skylight, curb and penetration flashing, where the sealant and the termination bar are the first things pressed.
Punctures in the membrane next to a curb, a common result of service visits, are confirmed in the same pass and repaired as membrane puncture repair.
Repair or rebuild
A small split in a membrane flashing can be cut out and replaced with a patch welded or adhered to sound material. A failed sealant joint can be cleaned and resealed, with a backer rod where the gap is wide. A loose termination bar is refastened and sealed. Those repairs are routine and fit within commercial roof repair work.
Rebuild when the wall surface is crumbling, when the base flashing is shrunken across an entire run or when the counterflashing is missing. A rebuild takes the flashing apart to the wall, prepares the substrate, installs new flashing in the manufacturer's detail and adds a counterflashing. If the same failure shows up in several places, treat it as a pattern: a seam failure repair at the same time keeps the field and the edges consistent.
Edge details at gutters and parapets are fixed together with the flashing, using edge metal, coping and gutters work, so one crew handles the whole perimeter in a single mobilization.
What it costs
Resealing a joint is a short visit. Rebuilding a long parapet run is a project with staging, materials and weather windows. The cost drivers are linear feet of flashing, wall condition, access and the number of penetrations in the zone. On warehouse-style buildings along Mallory Lane and Royal Oaks Boulevard, with many curb cuts and peak-hour congestion, delivery timing adds to the schedule.
Ask the question that matters for budget: how many of these joints are the same age and material? If they all are, expect them to fail in the same decade, and plan a program instead of a string of repairs.
Commercial Roofing Questions
Can flashing be fixed with roof cement?
As a short-term stopgap, yes. Cement dries and cracks within a season or two, so it is not a lasting repair. A lasting repair uses compatible membrane or reinforced flashing resin set on a clean, dry surface, finished with a counterflashing where the wall allows.
Why does the same flashing keep leaking after repairs?
Usually because the joint was not the cause. A wall that sheds water onto the flashing, a missing counterflashing, a shrunken membrane or movement the detail cannot absorb will defeat a patch. Find the cause first, then repair, and photograph the result.
How often should flashings be checked?
Twice a year works well, once before the wet months and once after them. After a strong storm, check again, because gusts can lift terminations and crack sealant without any sign from inside the building.
Does flashing repair affect the warranty?
It can help or hurt, depending on how it is done. Repairs made to the manufacturer's published detail and logged with photographs and dates are the safest route. Check the warranty for notice rules before work begins.
Is a counterflashing always needed?
On most walls and curbs, yes. It sheds water over the top of the base flashing so that the top edge does not depend on sealant alone, and it is one of the least expensive upgrades a flashing repair can include.